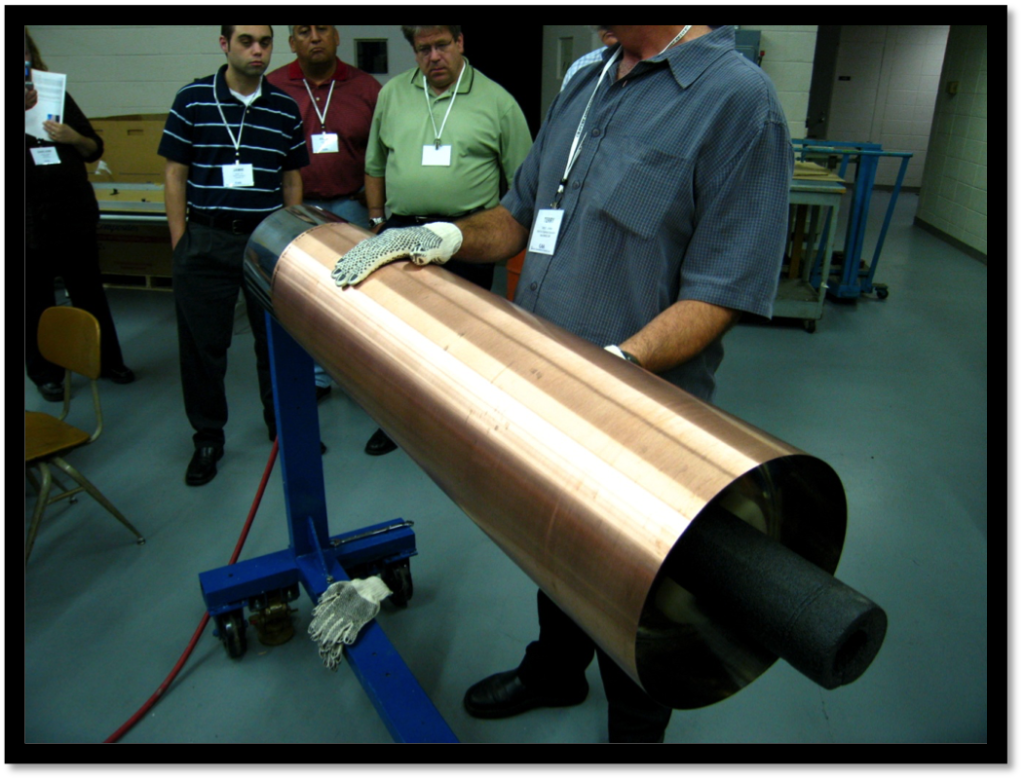
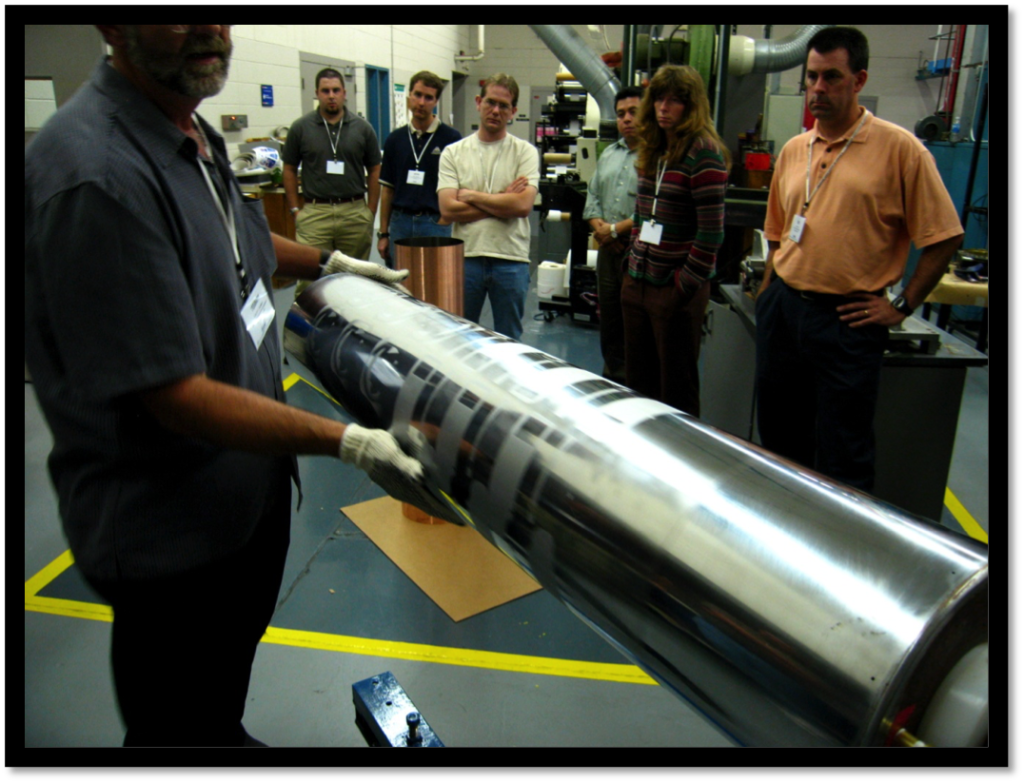
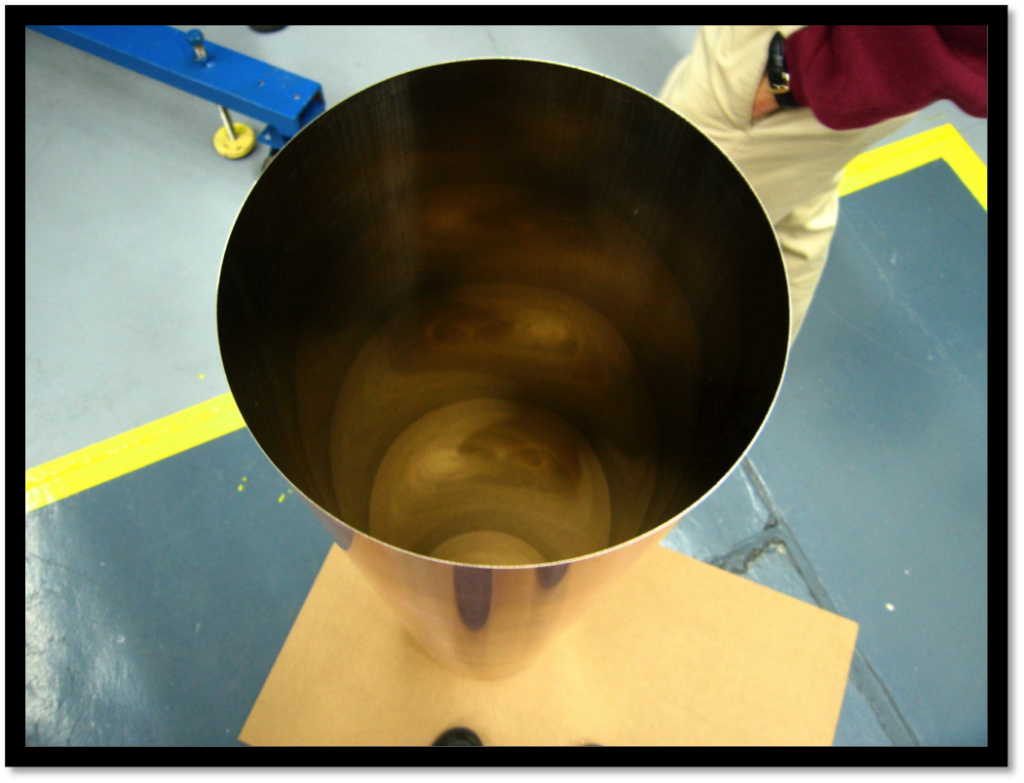
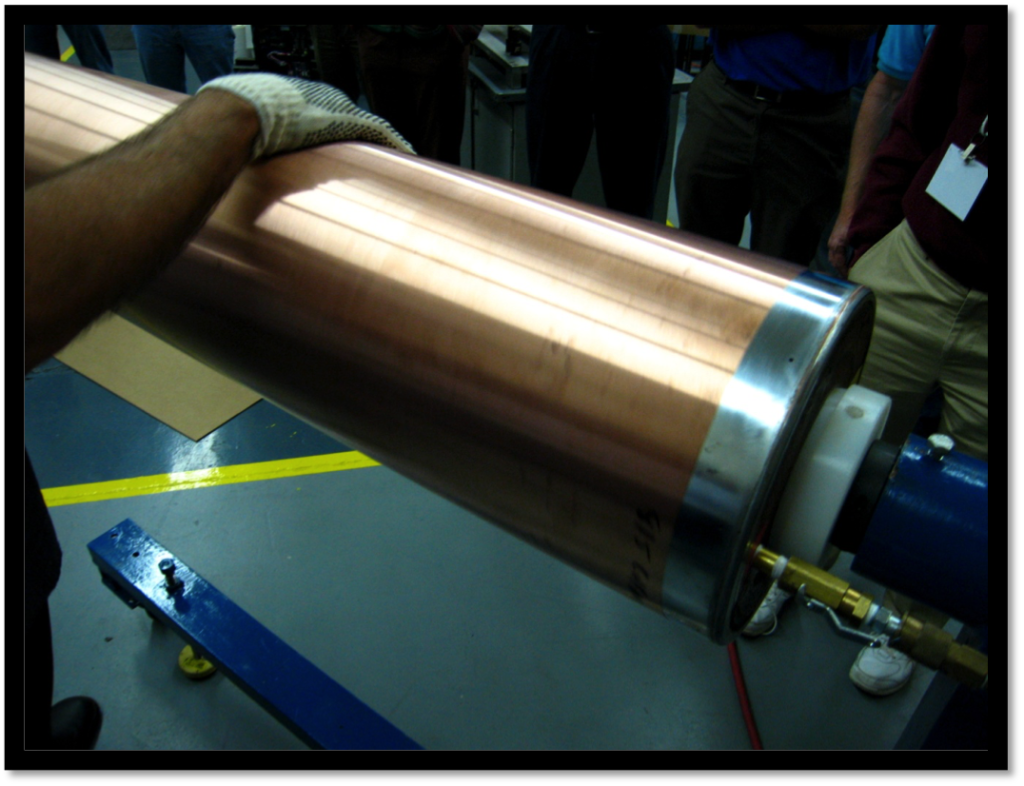
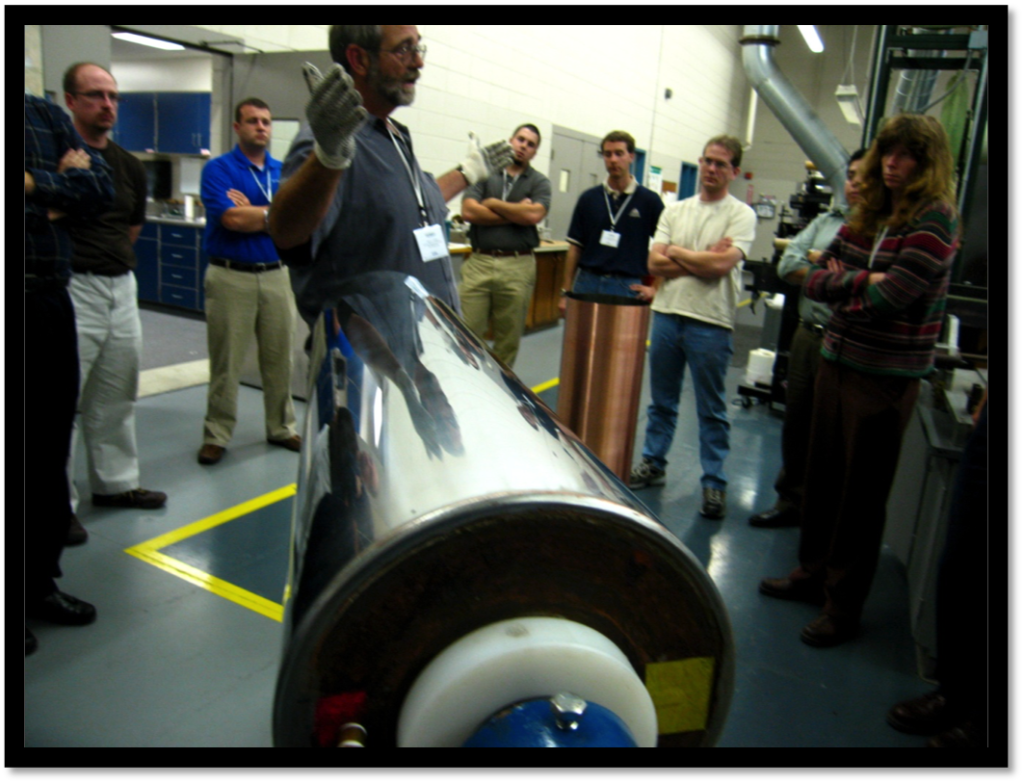
ROTHTEC™’s copper plated nickel gravure sleeves are the ideal solution for gravure printing. Copper plated nickel gravure sleeves are highly-durable, corrosion resistant, accurate, seamless sleeves that conduct electricity. They act as an interface between the printing cylinder and flexible printing plates, bringing you several clear advantages.
The Ease of Gravure Sleeves
- Sleeves are used in combination with a printing plate on an air cylinder, as opposed to a solid steel cylinder. The sleeve/printing plate combination is much lighter than an entire cylinder, and is consequently far easier to replace in transport. Your changeover times are also shortened as a result, which improves the efficiency of your production process.
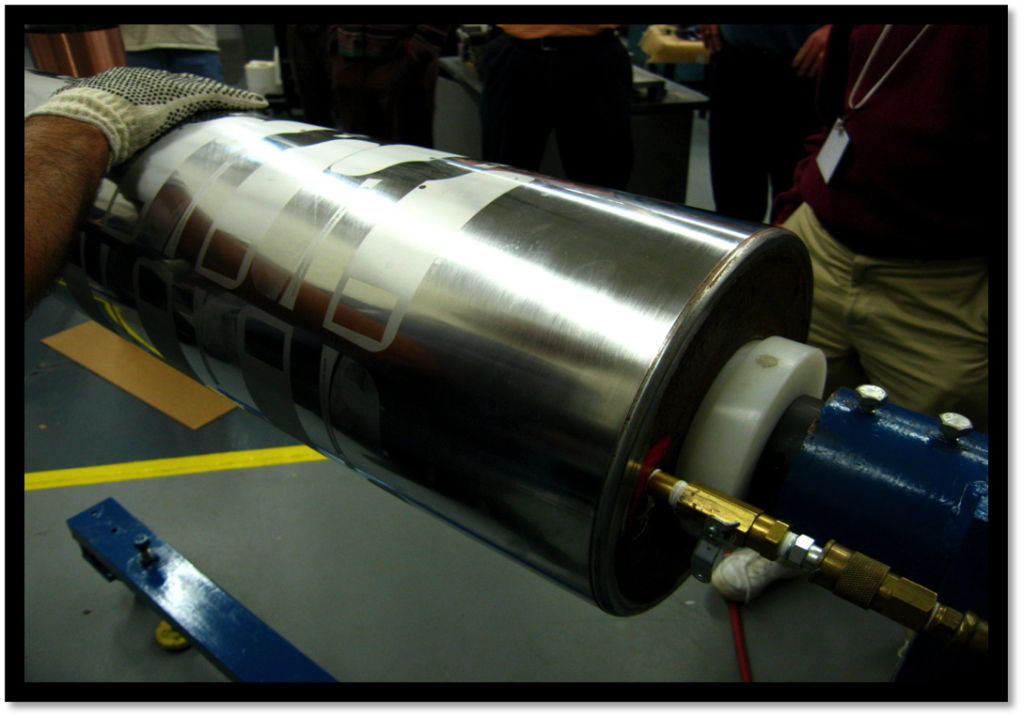
- The sleeves are positioned on the air cylinder with the help of compressed air (80 PSI). The air is fed into the cylinder (a printing cylinder with an air feed and air outlet holes). When sliding the sleeve onto the cylinder, the air outlet holes are covered up and an air cushion is created under the sleeve, which allows it to be positioned relatively effortlessly.
- Once the sleeve is in the correct position, the air supply is turned off, the sleeve contracts and clamps tightly around the cylinder, because its diameter is a fraction smaller. The printing plate is then attached to the sleeve, and you are ready to print.
- Preparing to print using a sleeve is a straightforward and physically undemanding procedure. The first step is to mount the sleeve on the air cylinder. The air cylinder should be clean, dry and free of any ink or other surface residue before the mounting procedure begins. The surface must be very clean inside and out, and extra care is needed to clean the mandrel.
Mounting Procedure
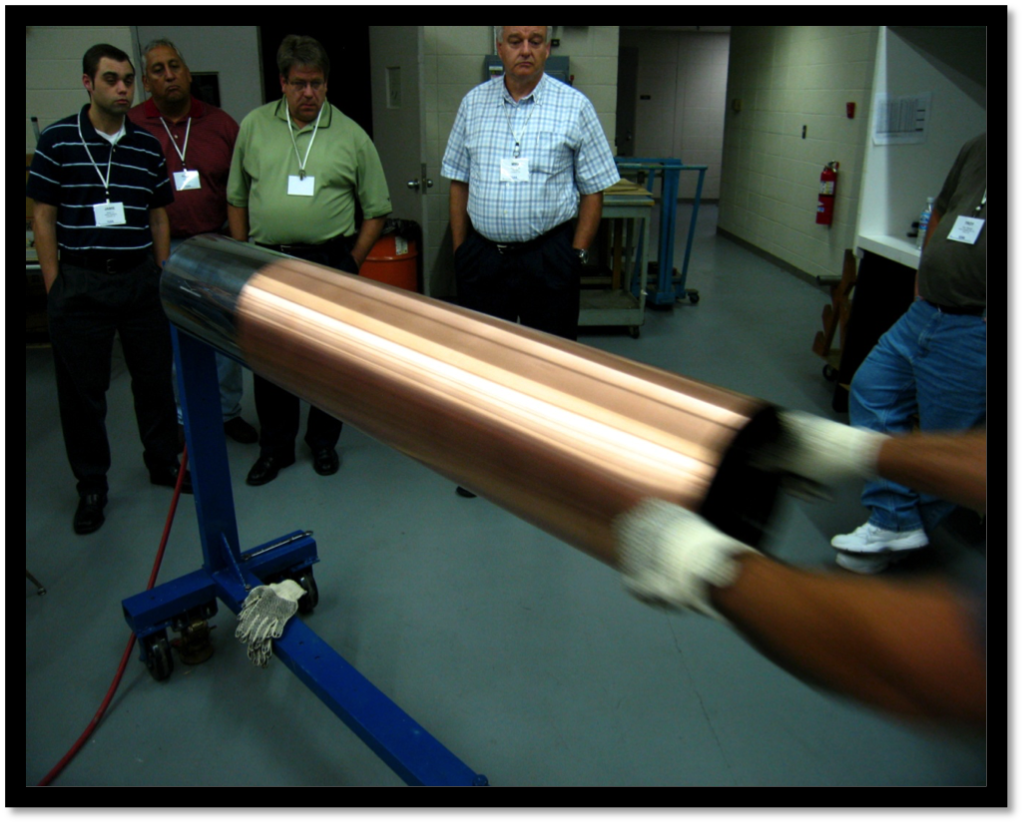
- Slide the sleeve onto the chamfered end of the air cylinder until the leading edge of the sleeve fully covers all air holes. Turn on the air supply for 10 to 15 seconds. This will create an air cushion underneath the sleeve, effectively causing it to ‘inflate’. Carefully slide the sleeve into position, taking particular care not to uncover the air holes.
- Disconnect the air supply when the sleeve is in its final position. The sleeve will now be clamped securely onto the air cylinder, and will remain in that position until the air supply is turned on again. Tip: To minimize loss of sleeves due to accidental deflation, you can also drill a set of auxiliary air holes at the opposite end of the air cylinder which can be used if required.
Simplifying mounting and removing sleeves, a cylinder mounting stand is recommended. This stand will hold the air cylinder firmly in place while allowing complete access to one end, making the process of mounting and removing sleeves much easier. Using a mounting stand also eliminates the need for a second person to hold the cylinder steady during the mounting procedure.

